The application used to create digital graphics
Clip Studio Paint is a software application that is developed by Japanese graphics software company 'Celsys'.
Clip Studio Paint is a versatile digital painting program that is ideal for its rendering and inking with its many useful and unique features. The program allows custom brushes and even paint and render any type of illustrations if wanted. It also includes 3D models of characters, items, and backgrounds to pose and is the angle to help further on visual reference.
Creating the main character
Step 1) Canvas Size
The width and height will be 600 X 600Step 2) Importing the sketch version from the planning stage
The sketch will be dragged and dropped into the programStep 3) Refining the main character
Tools used:First is to use an 'Auto Select' tool, then select the canvas, after selecting the canvas, invert the selected area
Step 2) Importing the sketch version from the planning stage
The sketch will be dragged and dropped into the programStep 3) Refining the main characterTools used:
The process of editing the other enemies is the same as the one shown.
Creating the game assets
Stage 01
Process of creating the game assets:
Tree
House
Cloud
Game assets on other stages,
Which includes:
Cliff
Rocks
Pillar
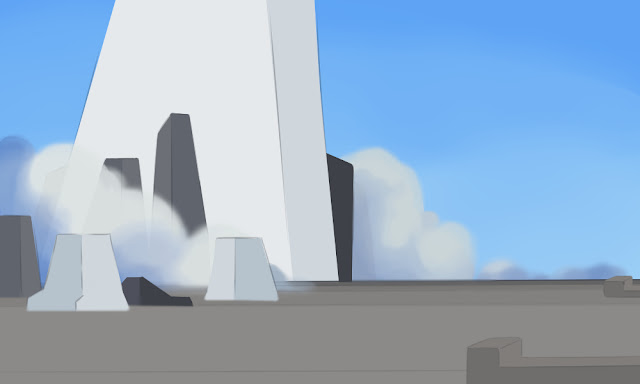
Creating the stages
Tools used:
Pen tool will be used for the base colour.
Brush tool is used to create soft stroke colours as well as to blend the colours.
The finished product.
The process of editing the other stages is the same as the one shown.
Creating the menu
Main menu
The width and height will be 1000 X 600
Step 2) Importing the sketch version from the planning stage
Step 3) Refining the stage
The tools used are similar to when creating the part of the stages
The finished productThe process of editing the other menu is the same as the one shown.
Settings
Creating the user interface
Video game icon
Step 1) Canvas Size
The width and height will be 1000 X 600
Step 3) Refining the video game icon
Final product
Stage 01


